Quote

"Scrapbooking Is Your Own Personal Holiday"~~Sara~~


Saturday, January 29, 2011

How To Make A Paper Rose

When I make flowers I like to use hot glue guns to assemble them.
It dries quickly and makes for a sturdy flower.
To make a rose using your gypsy you want to select any image that will make a good petal, leaf and base of the flower. See diagram below to start your cut file.


Create A Cut File


On Your Gypsy make a cut file with the above images.
Cartridges - Gypsy Font, Mother's Day Bouquet.


Preparing The Petals

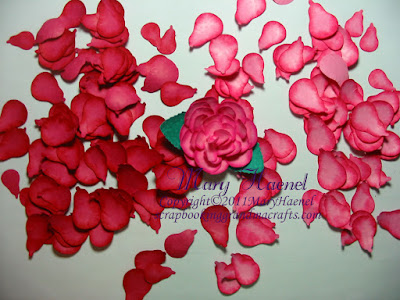
You Need 12 1-1/2" Petals, 9 1-1/4" and 4 1" petals


I used my quick stick and foam pad.


I rubbed the petal in a circular motion to curl the petal.
Don't worry about the folds and wrinkles it adds to the texture of the flower.


Assembling The Rose

Next ink the edges of the petal.


Layer the 2 cross shape petals for the base of the rose.
Adhere with hot glue.


Next adhere 6 1-1/2" petals with hot glue to the base of the flower.


Next adhere with hot glue and layer the next 6 petals.
Place this row of petals so they are inbetween the bottom petals met.


Next Layer 6 1-1/4" petals in the same manner as above.


Next layer and adhere with hot glue the last 3 petals of the flower.


Creating The Center Of The Rose


Place a tweezers at the side of the petal.


Next roll the 1" petal around the tweezers.
This will be the center of the rose.


With the last 3 1" petals place the tweezers in the center of the petal.


Next fold the sides of the petal around the tweezers.
This will create a bend in the petal to layer around the center of the rose.


Your 4 1" petals should look like this.


Next put a bead of hot glue in the center of a petal.


Place the center of the rose on top of the petal.
Next adhere the other 2 petals to the center of flower.


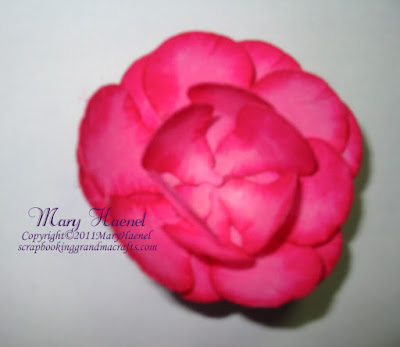
Your rose should look like this when completed.

Next adhere the leaves to the side of the rose with hot glue.


Your first rose is done. Now your ready to make some more.

Happy Crafting

Mary


Monday, January 24, 2011

Reindeer Christmas Card


Reindeer Christmas Card 

Christmas Card Made From A Negative Cut.
I used the negative from the deer I used to make a birthday card for my son's Christmas card.

Supplies:


Martha Stewart - Village Border Punch
Cricut Cartridge Winter Woodland - Deer
Cuttlebug Folder - Swirls

Friday, January 21, 2011

Valentine Puppy


Valentine Puppy

Supplies:

Cricut cartridge - Paper Dolls For Every Day - Puppy Cut at 5"
Gypsy Wanderings - Heart Cut at 2.65"
I designed the bone using Photoshop.
I printed it on 3M Ink Jet Transparency Film #CG3460
I cut the bone and layers around the bone by hand.
Paper is from K&Company Valentine Stack
The Puppy was made from S.E.I Velvet Paper
The back drop around the puppy I cut from Velvet Paper by hand.

Friday, December 31, 2010

Enjoy The Season Card


Enjoy The Season Card

Supplies:

Enjoy The Seasons Imagine Cartridge

Sunday, October 10, 2010

Christmas Card


Christmas Card

Directions:

For the card base I took a 1" snowflake and 1-1/2" snowflake from the Snow Angel Cartridge.
I auto filled the page on a 8-1/2"x11" pastel blue cardstock. I just printed the image.
I did not cut it out.
I printed the Ornament in layers at 7".
I then layered the ribbon around the ornament creating a frame around the ornament.


Saturday, October 9, 2010

I'm A Customer Spotlight Winner For Cricut Newsletter


I am Customer Spotlight for Cricut newsletter for a layout I submitted. 
I'm so excited!

The following link showcasing this layout has since been taken down.
http://www.cricut.com/newsletters/volume.aspx?ID=285


Monday, September 20, 2010

Holiday Card


 Holiday Card

 Supplies:

I just received my Imagine Snow Angels Cartridge in the mail today to use with my Cricut Imagine.
Here is a quick card I made up.
I embossed the snowflakes on the card base.
Then layered the paper, ribbon and embellishment.