Quote

"Scrapbooking Is Your Own Personal Holiday"~~Sara~~


Monday, September 2, 2013

5" x 7" Embossing Folder Storage with matching Border

I recently got some of the Anna Griffin embossing folders and cricut embossing folders.
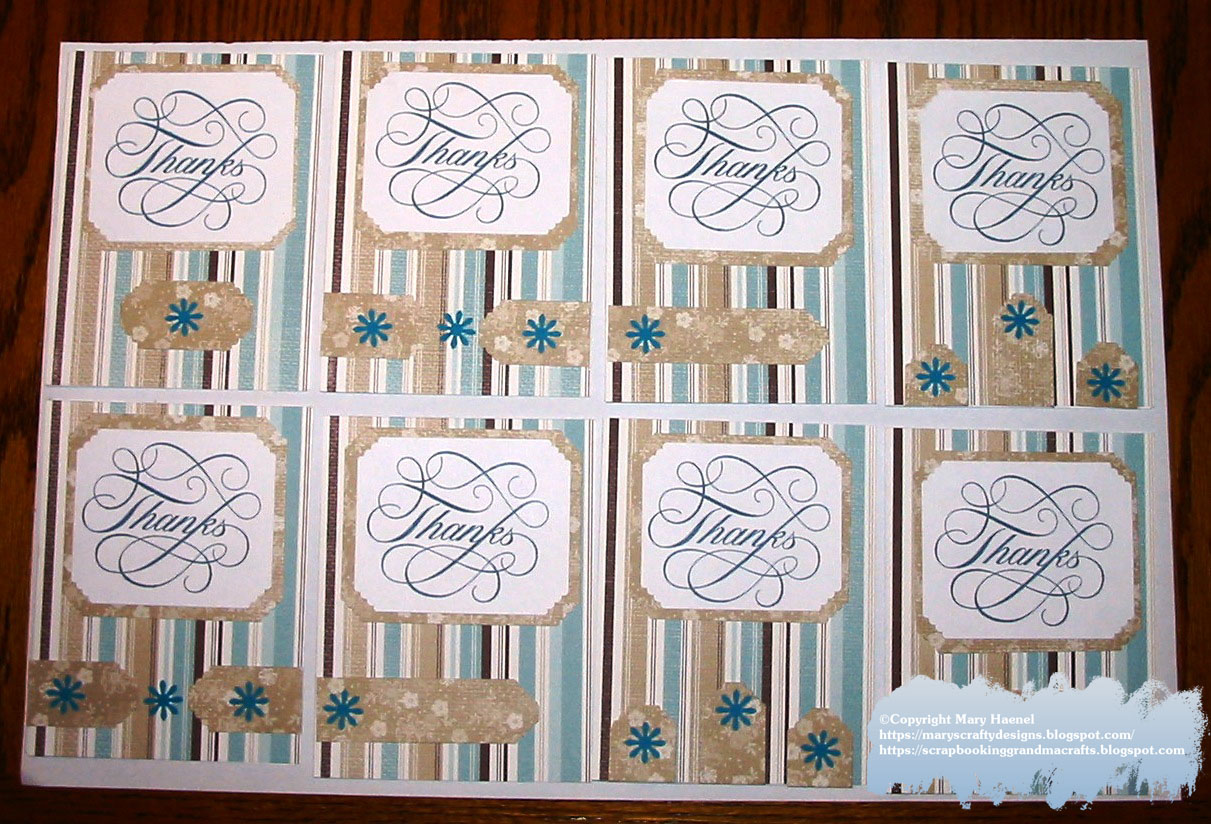
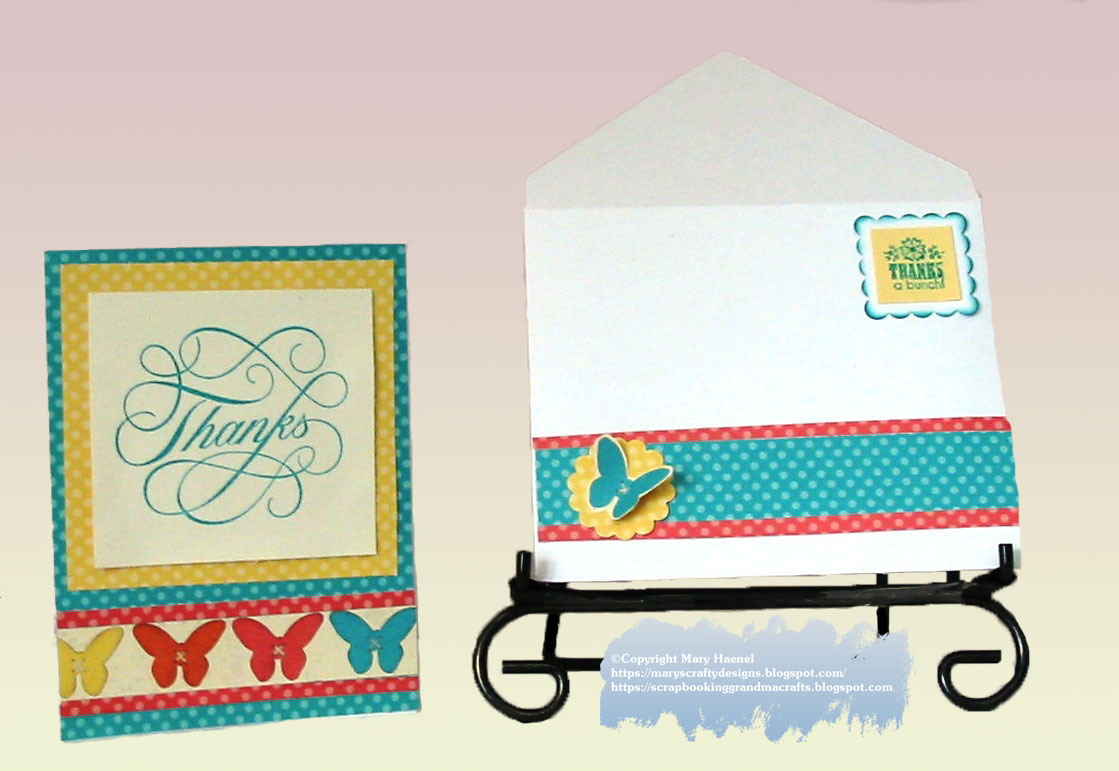
Some of these have matching borders to go with the 5"x7" folder.

I purchase several Really Useful Boxes 3L capacity. They work perfectly for storing these embossing folders. I created folder files in Cricut Craft Room design software. I used From my kitchen cartridge.


For the cuttlebug companions I numbered each file folder to coordinate with the companion embossing folder sets.


For the Anna Griffin embossing folders I put the name of the folder on the file tab.
These folders have the names of the embossing folder right on the folder.
Then in the file folder divider I made a pocket in back to hold the corresponding border folder.
I store other Cricut embossing folders with matching borders this same way.

I absolutely love these Really Useful Boxes!!

Happy Crafting!

Mary


Sunday, September 1, 2013

Monkey's and Puppies Layout

My Granddaughter went through a phase where she just loves Monkey's and Puppies.
She still does love them. But, when she was 2 she had such a fascination with them.
She would say ah Monkey's and Puppies all the time. So I made up a layout of her with her Monkey and puppies.
I love the cute monkey face she made. It is just so cute!!


Cartridges used: Create A Critter - Monkey 1.833" x 2.5" - Vine (welded)
                           Create A Critter 2 - Dog 3.125" x 1.653


Happy Crafting!!

Mary

Thursday, August 15, 2013

Look whats new in my craftroom


A couple months ago I got the Silhouette Cameo. Let me just say I love it!
I love the intricate cuts you can do with this machine!
I will be posting projects made with both machines on this blog!
I will be keeping all my Cricut machines and cartridges too.
For me I need both systems to create the things I want to create.

Secondly I got a Xyron Creatopia. I needed the 12" machine to put adhesive on paper lace.
It works like a dream. It does come with other attachments. I have also got the cutz attachment for it.  I will be mostly using the Creatopia for adding adhesive on intricate cuts, for cutting paper and the cold laminate cartridge.  Xyron did have a press release that they are discontinuing the Creatopia. But, they will still be making the adhesive and laminate cartridges. I got a good deal on the Creatopia machine. So watch for the sales if you want one before they are no longer manufactured.
I love the pretty purple color too!!  It's big but I need this big boy for large cuts.
Specifically adding adhesive to the detailed back ground paper lace on the Artbooking cartridge.
Also the Silhouette store has some very intricate cuts that I will use the Creatopia to put adhesive on that back of too.


Mary

Tuesday, August 6, 2013

New Cricut Circle Cartridge Charmed - Making Shrinky Dinks

I recently rejoined the Cricut Circle Group. This year's newest cartridge is called Charmed.
It is used with the new universal overlay. The handbook is a new 3-1/2"x3-1/2" size.(Sold Separately)
The new box size is 3-3/4"x4" box.


This cartridge images are designed to make charms. I received my cartridge yesterday and couldn't wait to get started making Shrinky Dink Charms.  I love Halloween images so I made these 3 charms for Halloween to test everything out. I am so happy with the results!!


These charms were cut at 4".
I used Frosted Shrinky Dink Material
I colored the Spider and Pumpkin with Sharpie Markers
I colored the Ghost with a white colored pencil.

They were all cut on the Imagine machine at 4" real dial size multi cut 3.
When I cut the shrinky dink material I put the side you color face down on the mat.

I heated the oven to 350 degrees. I placed them on a cookie sheet with parchment paper.
I didn't time it. I just waited for them to shrink and then flatten out again.
Then removed from oven. It probably took a minute or two.

They finished out at:
Pumpkin - 2" wide - 1-1/2 Long
Spider - 2-1/8" Wide - 1-3/4" Long
Ghost - 1-1/2" Long - 3/4" wide (hand to hand)

I can't wait to make more charms with my Granddaughter!! I had to test it out first though.
Everything went perfectly!!


This is the packaging from the Shrinky Dinks Material.


Happy Crafting!!
Mary


Saturday, July 27, 2013

Great Outdoors Adventure Layout


 Great Outdoors Adventure Layout

Supplies:

Close To My Heart Cricut Artbooking Cartridge Handbook Page 66
I cut the backgrounds on fit to page feature.
I cut the Pine trees at 7". I also cut the titles at 7"
The photo mats were cut to a 4"x6" size.
The mat paper was cut to 5-1/4" X 3-1/2"
The photo's I trimmed down to 3-1/4" x 4-3/4"
The sun image can be found on page 53. I cut that at 3-1/2"
I added wood veneer birds to the embellish the layout


Sunday, May 5, 2013

A Mother's Day Card


Hubby's Birthday Card

My hubby has a Birthday Coming up. I made a quick easy card for him that I know he will love.

He loves is Beer!!!  So I thought this would make a perfect card for him.


The Cut is from a Cricut Craft Room Download.
It is a Father's day card that I altered into a birthday card for my hubby.
I hand cut the word dad off the image and replaced it with my hubby's name.
I used the Base Camp cartridge for the font for hubby's name.
It was cut out at 1/2"
The base of the card was cut at 6-1/2"
I used foil paper for the overlay for the front of the card.

~Mary

Mother's Day Card


Mother's Day Card

I've been getting in on some challenges for National Scrapbook Day.
I have never made an easel card and thought that would be a good challenge for me.
I made my mom's Mother's Day card for a challenge.
It was so much easier then I thought it would be.
Supplies:
Cricut Cartridge - Close To My Heart Artiste - Banners and Shape.
Close To My Heart - Chantilly Paper Collection.
The card fold up to be a 5x5 card.
I added buttons for embellishment.


Friday, March 29, 2013

Teapot Plaques and Decorative Holders

Well I had to go back to the drawing board. My daughter liked the teapot plaque so much she asked me if I could do another one. Only flip the Teapot the opposite direction. I said I could do this.
Then she asked if she could have my decorative holder. I said I could make another one.
I'm just happy she liked them so much. I do have to admit 2 teapots are better then one.
I had my GD help me with the 2nd one. She really enjoyed painting the teapot plaque.
Here is my daughter's house warming present. 2 teapot plaques and a decorative holder.
I think these 3 pieces look good on stands too.  So now it is settled this is my daughter's house warming present!!!  She is very grateful and appreciative that I made these for her.


These decorative holders I made for myself. LOL
I'm keeping them for decorative Craft room storage!!
I'm might bling up the 2 side holders more. I just have decided yet.
I know sometimes when I post things on my blog.
I see things in a different light and make some changes.
So don't be surprised if you see me posting more about these pieces. LOL


Enjoy!!!!!

Mary

Thursday, March 28, 2013

Decorative Holder


Decorative Holder

Supplies:

I purchased this candle holder at Michael's.
The beads, ribbon and lace I purchased at Walmart.
Butterflies I purchased at Michael's.


Teapot Wall Plaque


 I made my daughter a house warming present. She loves teapots. So I found this wood teapot at Michael's. I painted it with acrylic paint and sprayed it with a glaze. Then embellished it with a vine, flowers and butterflies.


Sunday, March 24, 2013

Princess Wall Plaque

I made a Princess wall plaque for my Granddaughter's new room.
She will be moving into a new house soon!! This is my house warming present for her new room.
I hope she likes it!!!


 I painted the plaque with acrylic paint. I used mod podge to adhere the pieces to the plaque.

It is 11-3/4 wide x 7-1/2 height.

It is a wood plaque that I painted pink. I got it at Michael's.

Cricut Cartridges Used: Once Upon a Princess - for the princess cut. Cut Size 1-1/2".

I used Hello Kitty Font for her name. Cut at 1"

The butterflies are from Ek Success small punches.

The Disney figures are chipboard I used from a Disney scrapbook kit.

Sunday, March 3, 2013

Thank You Cards


Thank You Cards

I spent yesterday crafting with a friend of mine. I made 8 Thank You cards for my husband's retirement on Friday.  We had so much fun!! This was my first time actually going out and meeting up with a friend to craft!  There are 2 each of 3 different designs.

Card Size - 4-1/4 x 5-1/2

Supplies:
Close To My Heart - Thanks Stamp - A1125
We R Memory Keepers - Crop-A-Dile Corner Chomper - Scallop / Cloud Chomper
Ek Success - Flower Punch


Sunday, February 24, 2013

Thank You Cards


Thank You Cards

Card Size - 4-1/4 x 5-1/2

Supplies:

We R Memory Keepers - Envelope Punch Board to make the envelopes
Close To My Heart - Thanks Stamp - A1125 
Close To My Heart - Wonderful You Stamp - W332
Close To My Heart  Ink - Lagoon - Z2195
Close To My Heart - Dotty For You Paper Collection - CC1017 


Thursday, January 31, 2013

Chillin Out Layout


Chillin Out Layout

Supplies:

Cricut Cartridge - Art Philosophy - font - cut at 1-1/4"
The rest of the papers used were cut in strips and layered onto the base of the layout.
Epiphany 25 circle punch to make the circle embellishments to match the page.

Sunday, January 20, 2013

Nature Lover Layout


 Nature Lover Layout

I finished 3 double layouts for my weekend challenge!! I had a lot of fun and I hope you had a chance to play along with me! I am going to try and do this more often.

Supplies:

Martha Stewart Circle Edge Punch
Martha Stewart Eyelet Doily Punch Cartridge
I punch 7" and 9" scallop circles

Close To My Heart Art Philosophy Cricut Cartridge
Font cut at 1.25"
Journal block cut at 4" and 4-1/2" for the shadow.

Saturday, January 19, 2013

Enjoy The Little Things Layout


Supplies:

In this double  layout I used papers from Die Cut With A View.
The Stickers I used are from Close To My Heart Sonoma collection.
I die cut the journaling block from Art Philosophy Cricut Cartridge.
I cut it at 4" then cut it in half and that gives me 2 journaling blocks to write in.
Pictures are sized to 4"x5"

Exploring Outside Layout

I have another double layout done for my weekend challenge!!! One more double layout to go!!

I may just have to do more because I'm on a roll!!! LOL


Supplies:

The paper I used was DCWV Green Stack and Garden Party.

I used the image from Art Philosophy cartridge for my journaling block cut at 4" then cut in half.

Weekend Challenge 3 double layouts

I am doing a weekend challenge for myself. I am trying to get 3 double layouts done this weekend.

I finished one and here it is!!  You can join me in my challenge.

I think it is fun knowing others out there are working on layouts when I am. It is a crafting weekend for me!!!

So leave me a comment and let me know what crafty plans you are doing this weekend!!


Supplies:

I used an image from the Art Philosophy Cartridge.

I cut it at 4" then cut  it in half for my journaling blocks.

I used Cricut Craft Room basic font for my Explore Nature title cut at 1-1/2".

The banners I cut by hand. I used a square punch for the v at the bottom of the banner.

I used K&Company Chipboard shapes as embellishments.

The pattern paper is from DCWV.


Country Carnival Layout


Country Carnival Layout

Supplies:

Imagine Cartridge - Spring Chic for the papers and banner.
Imagine Cartridge - Nursery Tails for the duck
I also used stickers from October Afternoon Midway collection.
Picture size is 4x5


Monday, December 3, 2012

December Journal - December 1st


I finished a couple pages done in my December Journal Book.
I wanted to give you an idea on what you can put on pages.
I still have to add the journaling but this kind of gives you an idea on how to get started.

Supplies:

Simple Stories Snap Binder


Sunday, December 2, 2012

Rudolph Christmas Card


 Rudolph Christmas Card

Card Size: 5-1/2 x 8-1/2

Supplies:

Cricut Craft Room Basics - Background Shape
I placed 2 images on my mat and sized it to layer one on top of the other.
Create a Critter 2 cartridge - Reindeer
Martha Stewart Holiday Cakes Cricut Cartridge - Merry Christmas
October Afternoon - Distressed Snowflake and Bells paper
The pattern paper is distressed from the manufacturer as you can see on the right side of the card.

Christmas Tree Card


Christmas Tree Card

Card Size: 5-1/2 x 8-1/2

Supplies:
Cricut Craft Room Basics - Background Shape
I placed 2 images on my mat and sized it to layer one on top of the other. 
Cricut Create a Critter 2 Cartridge - Tree Cut
Cricut Martha Stewart Holiday Cakes Cartridge - Merry Christmas
October Afternoon - Pattern Papers

Reindeer Christmas Card


Reindeer Christmas Card

Card Size: 5-1/2 x 8-1/2

Supplies:
 
Cricut Craft Room Basics - Background Shape
I placed 2 images on my mat and sized it to layer one on top of the other.
Create a Critter 2 cartridge - Reindeer
Martha Stewart Holiday Cakes Cricut Cartridge - Merry Christmas
October Afternoon - Distressed Polka Dot and Ornament paper
The pattern paper is distressed from the manufacturer as you can see on the right side of the card.


Christmas Tree Card


Christmas Tree Card

Card Size: 5-1/2 x 8-1/2

Supplies:

Cricut Craft Room Basics - Background Shape
I placed 2 images on my mat and sized it to layer one on top of the other. 
Cricut Create a Critter 2 Cartridge - Tree Cut
Cricut Martha Stewart Holiday Cakes Cartridge - Merry Christmas
October Afternoon - Pattern Papers
The pattern paper is distressed from the manufacturer as you can see on the right side of the card.

Saturday, December 1, 2012

December Journal 2012 - Book Cover


December Journal 2012 - Book Cover

Today is the starting day to make your December Journal Books.
I just finish the cover this morning.
I hope you can join in on this with me and make a December Journal Book.

Supplies:

Cricut Cartridge - Cindy Loo Cartridge - Title
Simple Stories papers - Cocoa, Tree and Snowman cards
October afternoon papers Red Holly Leaves for the cover.
K&Company - Chipboard Snowman


Monday, November 19, 2012

December Daily Book - Dates Are Finished!!

This year I am going to do a December Daily Book. I will be documenting/ journaling something each day in the month of December. I Will be using Simple Stories Handmade Holiday Collection.
While I'm waiting for supplies. I decided to make up my date tags for each day in December.
This is something new for me. I have never done Project Life or Simple Stories before.
December is a month full of activities and this would be a good way to document the festivities.


Supplies Used:

Tim Holtz Movers and Shapers - Deer and Tree
Martha Stewart - Border Punch and Snowflake Punch
Sizzix Movers and Shapers Die - Scalloped Circle
SU - 1-3/4" Circle Punch
Cricut Mini for the Numbers - Cut at 1" - Using Winter Woodland Cartridge
Cricut Imagine - To flood fill the Snowman outfit from the Imagine More Cartridge.
Cricut Imagine - Santa's Village - For the Tree Cut 1" and Santa and Sleigh cut 1-1/2"
Mcgill - Pine branch punch

I spritzed the Scallop circle, numbers, border punch image and pine branches with Perfect Pearls Mist with Heirloom gold.
I spritzed the snowflakes with Perfect Pearls Mists with Perfect Pearl


~Mary

Saturday, November 10, 2012

Snow Folks Winter Snow Girls


I'm working on Christmas Cards.
I just got the Cricut Snowfolks Cartridge.


Snow Folks Winter Snow Girls

Card Size: 5-1/2 x 8-1/2

Supplies:
Cricut Snow Folks Cartridge - Snow girls cute at 3.5 true size
Cricut Imagine - Snow Angel Cartridge to flood fill the coats and mittens.
Cricut Martha Stewart Holiday Cakes Cartridge - Merry Christmas cut at W - 5.097 x H - 2.069 in Cricut Craft Room Design Software
For the snow I used the paper tearing technique. Then I chalked the edges.


Saturday, October 27, 2012

Pumpkin Carving

Our Granddaughter was over and we had to carve a pumpkin for Halloween.

Well Chuck got in on the action making this his first Cricut project.

Here is the step by step process.


First cut off the top


Then our granddaughter Scooped out the middle


She said it was gooey


Our Granddaughter Picked out the pumpkin face from the Pumpkin Carving cartridge.
I cut it out on the Cricut Mini.


Chuck traced the face on the pumpkin


Here it is.


Then Chuck carved the face


Then our granddaughter pulled out the pieces to the face.


What a great team!!


Our granddaughter wants to keep the cut out pieces.


Here's a close up of it all lit up.


Now I get to scrapbook it!!

Happy Halloween!!!!

Sunday, October 21, 2012

I made a list up of all the Imagine Cartridges available.

These are print and cut images and color and pattern fill cartridges.


IMAGINE CARTRIDGES

Colors And Patterns

1) Ancestry

2) Audrey

3) Berries And Cream

4) Blossom

5) Bubblegum Stripes

6) Christmas Wish

7) Contemporary Nature

8) Elise

9) Floral Emporium

10) Heirloom

11) Hopscotch

12) Industrial Glow

13) Mystical Garden

14) Mr. Frosty

15) Notebook Doodles

16) Snapshot Everyday

17) Snapshot Texture

18) Snapshot Nature

19) Spring Chic

20) Teresa Collins - Black And White

21) Vintage Damask

22) Vintage Papers


Imagine Art Cartridges


1) All Wrapped Up

2) Baby Boutique

3) Best Friends

4) Better Together

5) Blast Off

6) Buccaneer

7) Country Carnival

8) Enjoy The Seasons

9) Greeting Cards Inside and Out

10) Hey Diddle Diddle

11) Imagine More

12) Imagine More Cards

13) JT Art

14) Kate's Kitchen

15) Lori's Garden

16) Nursery Tails

17) Santa's Village

18) Snow Angel

19) The Good Old Days

20) Word Of Mouth

21) Yummy


Happy Crafting!!
Mary